Feb 26, 2024 | Makeblock
In the realm of technology, where innovation is the heartbeat and creativity is the pulse, the next generation of innovators is eagerly waiting to make their mark. For teenagers, the journey into robotics is not just about building machines; it's about discovering the engineer, the inventor, and the problem-solver within. As we stand on the cusp of a future where robots are integral to our daily lives, it's essential to nurture the curiosity and ambition of our youth.
This blog delves into the top 5 robots that are designed to spark the innovative spirit in teens, providing them with the perfect platform to explore, learn, and create. From coding to engineering, these robots offer a hands-on experience that bridges the gap between education and real-world application, setting the stage for tomorrow's tech pioneers.
Join us as we uncover the tools to transform a teenager's passion into a powerful force for change.
List of the 5 Best Robots for Teens
$349.99
12+
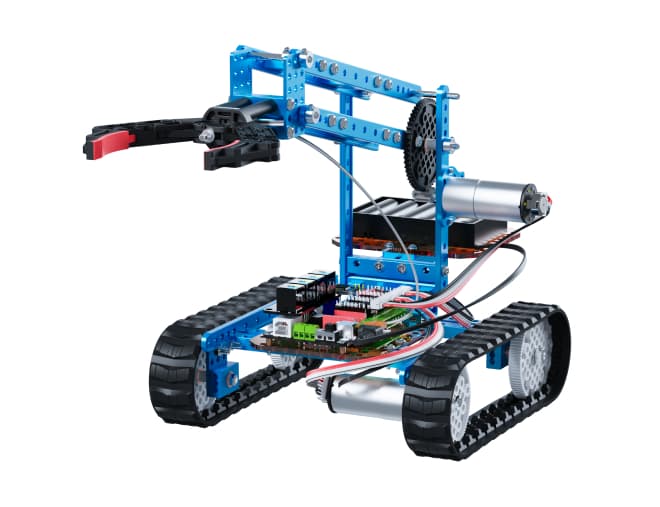
MegaPi
ultrasonic sensor, line follower sensor, gyroscope, shutter module
Block-based, Arduino, Python (Extra Raspberry Pi Needed)
500+ Makeblock electronic and mechanical parts, Arduino sensors, LEGO bricks, Raspberry Pi
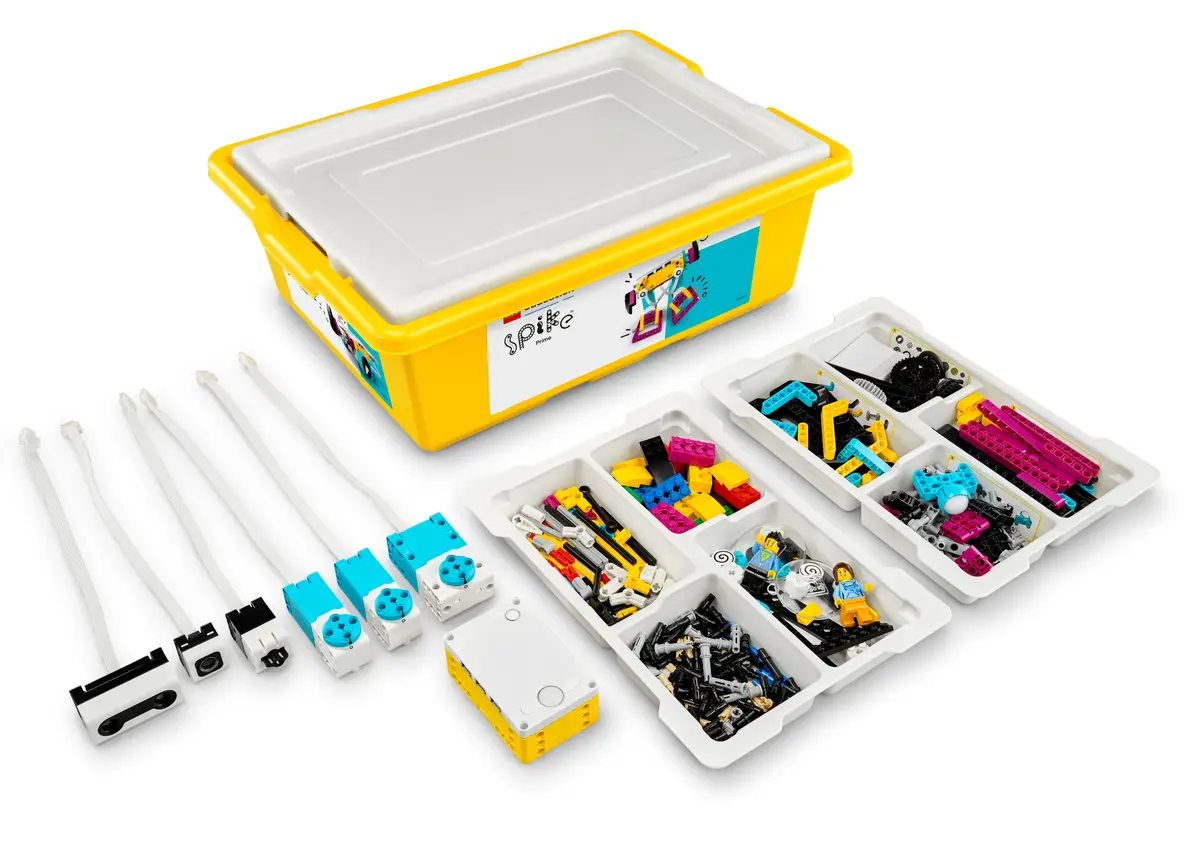
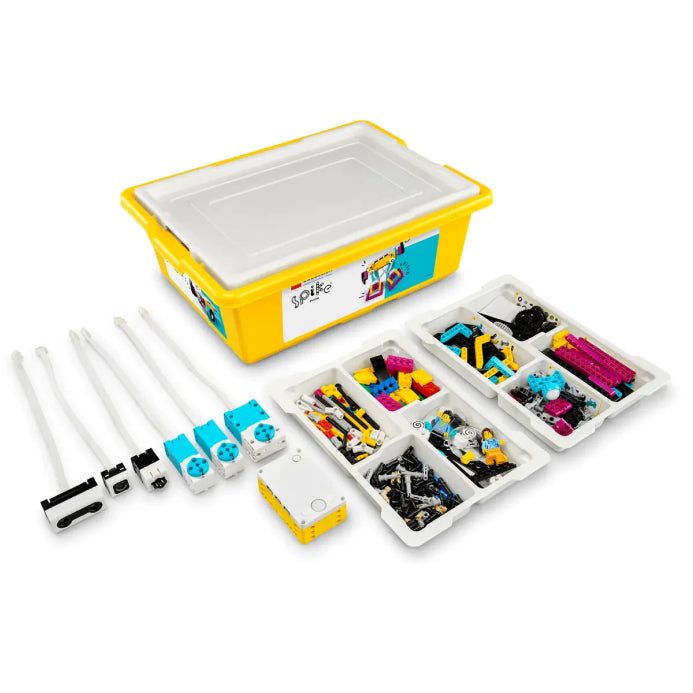
LEGO SPIKE Prime
$399.95
10+
SPIKE Prime Hub
distance sensors, color sensors, force sensors
Scratch; SPIKE Prime Python Extension
LEGO Education SPIKE Prime Expansion Sets,LEGO Education app
$137.49
6+
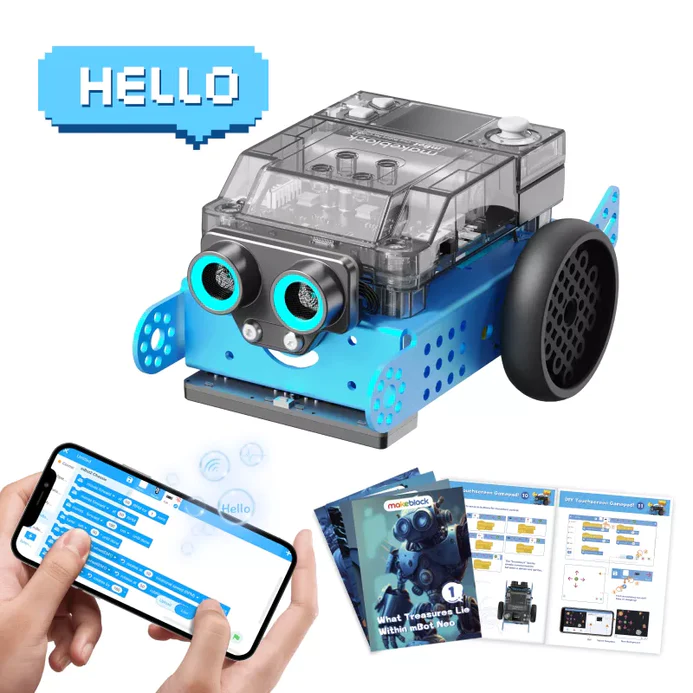
CyberPi
light sensor, microphone, gyroscope, accelerometer, ultrasonic sensor, quad RGB sensor
Block-based, Python
500+ Makeblock electronic and mechanical parts, LEGO bricks
$111.99
8+
MegaPi
IR obstacle avoidance sensor, line follower sensor, crash sensor (limit switch), RGB LED module
Block-based, Arduino, Python (Extra Raspberry Pi Needed)
500+ Makeblock electronic & mechanical parts, Arduino sensors, LEGO bricks
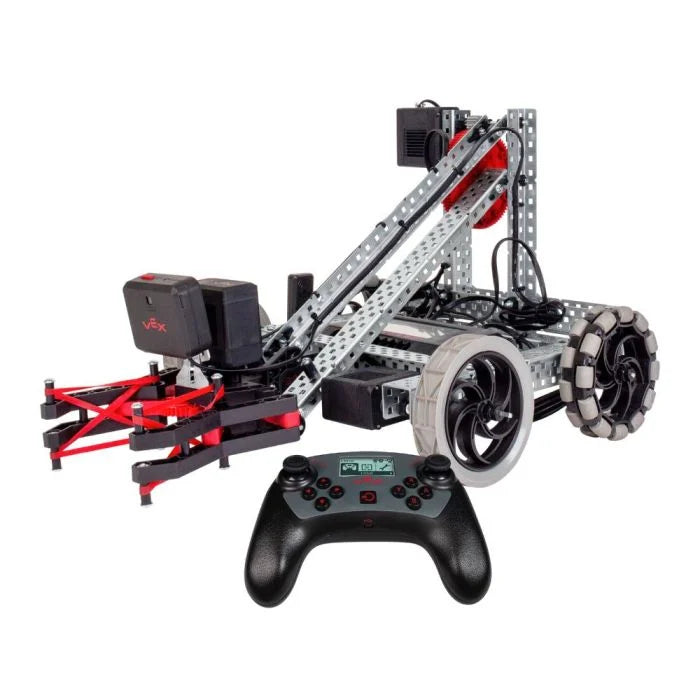
VEX V5 Classroom Super Kit
$1,575
9+
VEX V5 Cortex Controller
Vision Sensor, Gyro Sensor, Proximity Sensor, Limit Switches
VEXcode, VEXcode VR, VEX Coding Studio, Python(Through the VEX Robotics Python Extension)
VEXcode app

LEGO SPIKE Prime

VEX Robotics V5 Classroom Super Kit
$349.99
$399.95
$240.99
$111.99
$1,575
12+
10+
12+
8+
9+
MegaPi
SPIKE Prime Hub
CyberPi
MegaPi
VEX V5 Cortex Controller
ultrasonic sensor, line follower sensor, gyroscope, shutter module
distance sensors, color sensors, force sensors
light sensor, microphone, gyroscope, accelerometer, ultrasonic sensor, quad RGB sensor
IR obstacle avoidance sensor, line follower sensor, crash sensor (limit switch), RGB LED module
Vision Sensor, Gyro Sensor, Proximity Sensor, Limit Switches
Block-based, Arduino, Python (Extra Raspberry Pi Needed)
Scratch; SPIKE Prime Python Extension
Block-based, Python
Block-based, Arduino, Python (Extra Raspberry Pi Needed)
VEXcode, VEXcode VR, VEX Coding Studio, Python(Through the VEX Robotics Python Extension)
500+ Makeblock electronic and mechanical parts, Arduino sensors, LEGO bricks, Raspberry Pi
LEGO Education SPIKE Prime Expansion Sets,LEGO Education app
500+ Makeblock electronic and mechanical parts, LEGO bricks
500+ Makeblock electronic & mechanical parts, Arduino sensors, LEGO bricks
VEXcode app
Tips: To inquire about the most current price, please refer to the product's official website or check Amazon's website for the latest information.
4 Engaging Robotic Programming Cases for Teens
From the thrill of line-following robots to the intricacies of temperature monitoring systems, robotic programming projects serve as a stepping stone for young minds to delve into the realms of coding, electronics, and problem-solving. Each case is a narrative of exploration. So, let's dive into these adventures and see how coding can transform the way we interact with the world.
1. Control the LEDs
Objective: Program the robot to blink and light up with the onboard LEDs.
Materials Needed:
- A robot with LED lights
- Programming software compatible with your robot
- A computer or tablet
Steps:
- Familiarize with the Hardware: Identify the LED lights on the robot. These are usually located on the control board and may be red, green, and blue (RGB) to create various colors.
- Set Up the Environment: Ensure the robot is charged and connected to the programming software.
- Programming LEDs: Open the programming software and create a new project. Locate the blocks related to LED control in the software's block library. These blocks typically control the brightness, on/off state, and color of the LEDs. Write a program to turn on those LEDs light one by one.
The following gifs present how to control the LEDs with mBlock as an example.
With the following programming process, when you turn on Makeblock's robots with LED lights, the RGB LEDs are on and off alternatively.
With the following programming process, when you turn on Makeblock's robots with LED lights, the RGB LEDs light up one by one.
mBot2 is great at programming with mBlock. With mBot2, you can even experiment with changing the blink frequency and light-up sequence of the LEDs. It has a powerful main control called CyberPi, which allows it to perform various programming tasks, such as detecting loudness, controlling the joysticks, etc. If you're interested in its programming cases, you can click to learn more.
2. Obstacle Detection and Avoidance
Detecting distance is a fundamental skill in robotics and can be achieved using various sensors. Here's a coding case that involves distance detection with a robot like mBot Ultimate:
Objective: Program your robot to detect obstacles using an ultrasonic sensor and navigate around them.
Materials Needed:
- Robot with an ultrasonic sensor (or similar distance-measuring sensor)
- Programming software compatible with your robot
- A computer or tablet
Steps:
- Sensor Setup: Ensure your robot is properly assembled and is equipped with distance-measuring sensors. These sensors typically has three wires: VCC (power), GND (ground), and Echo (signal).
- Programming the Distance Detection: Open your programming software and create a new project. Find the blocks related to sensor input in the block library. Look for blocks that allow you to read the value from the ultrasonic sensor. Write a program that continuously reads the distance from the sensor. The sensor will emit a sound wave and measure the time it takes for the echo to return, which can be used to calculate the distance.
- Setting Thresholds: Determine a safe distance threshold at which the robot should start avoiding an obstacle. For example, if the distance is less than 10 cm, the robot should take evasive action.
- Obstacle Avoidance Logic: Program the robot to stop and reverse direction if the detected distance is below the threshold. This can be done using conditional blocks (if-else statements) and movement control blocks (to move the robot).
The following GIFs show how to detect obstacles and avoid them with mBlock as an example.

This coding exercise is designed to help teenagers learn about sensors and how to process sensor data. For this activity, we recommend using mBot Ultimate, which comes equipped with advanced ultrasonic sensors and has strong support from the mBlock app. The software uses a drag-and-drop interface, making it easy for teenagers to learn how to code. What's more, mBot Ultimate can execute diverse kinds of programming instruction. So if you are looking for a versatile robot kit for your teens above 12, it will be your top choice.
3. Line following
Objective: Program your robot to autonomously follow a predefined line on a flat surface.
Materials Needed:
- Your robot with a line follower sensor (eg. mBot Mega)
- Compatible programming software- A computer or tablet
- A piece of black construction paper or a white background with a black line (for contrast)
Steps:
- Sensor Setup: Set up your robot, ensuring it's positioned correctly to detect the line. The sensor typically has two sensors that read the intensity of light reflected from the line.
- Programming Line Detection: Open your software and create a new project. Find the blocks related to sensor input and motor control. You'll need blocks to read the sensor values and blocks to control the motors. Write a program that reads the values from the line-following sensor. The program should compare the readings from the left and right sensors to determine if the robot is on the line.
- Steering Logic: Implement a control algorithm that adjusts the motors' speed to keep the robot on the line. If the robot veers to the left, the right motor should speed up, and vice versa.
The following GIFs show how to follow lines with mBlock as an example.
If you are unsure about which robot is best suited for this line following programming activity, I highly recommend mBot Mega for you. It is considered one of the best remote control robots, equipped with strong line follower sensors and capable of 360° rotation. Additionally, it can be operated while side-drifting.
4. Temperature Monitoring
Objective: Program your robot to monitor and display the ambient temperature using a temperature sensor.
Materials Needed:
- Robot with temperature sensor
- Programming software compatible with your robot
- A computer or tablet
Steps:
- Sensor Setup: Ensure your robot is equipped with temperature sensors. Ensure that the sensor's data wire, power wire, and ground are correctly connected.
- Programming the Temperature Reading: Launch programming software and open a new project. Locate the blocks related to sensor input, specifically those for reading temperature data. Write a program that reads the temperature value from the sensor. This will typically involve using an analog read block to get the sensor's raw data.
- Data Processing: Convert the raw sensor data into a temperature reading. This step may require using a specific formula or lookup table provided by the sensor's manufacturer.
- Displaying the Temperature: Use programming software to display the temperature on the robot's screen or on a connected device. You can use text display blocks to show the temperature value.
This coding case teaches teens about sensor integration, data processing, and user interface design, providing a practical application of robotics and programming skills.
The following GIFs show how to monitor temperature with mBlock as an example.